Care
Cleaning:
Before we get into the washing instructions, we STRONGLY recommend hand-washing all products that use webbing. The agitators in a washing machine can very easily cause the raw edges of the webbing to start fraying, and can also damage the plastic buckles. If you absolutely for some reason must put your harness in the washing machine, put it in a pillowcase to give it some padding, and wash with other items on a delicate setting with no spin cycle. Use only a mild, neutral detergent (no other added products, ESPECIALLY no bleach).
Do not put webbing in the dryer, period.
While not shown in a picture, if any parts of the webbing look dirty/stained (very common with lighter colors and white), put a spot of dish soap on the area and massage it in. Let it sit for at least 30 minutes, then begin washing. This is also very handy for stains on clothing in general.
Start filling wash basin, tote, or one of those 5-gallon buckets from the hardware store (any container that’ll hold your harness plus plenty of water to work with) with warm water. Go as warm as you can before the water becomes too hot for your hands.
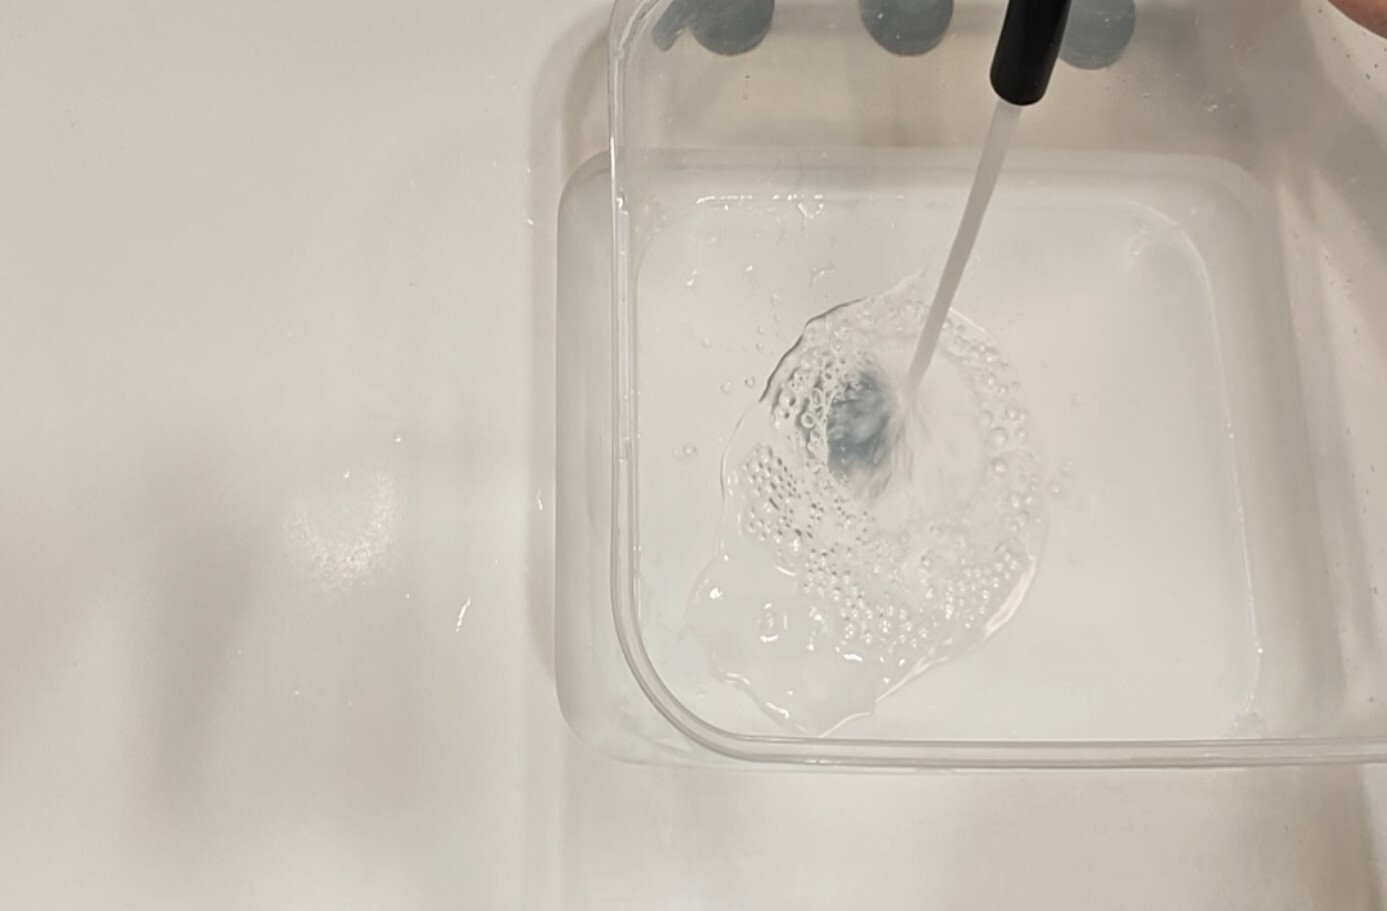
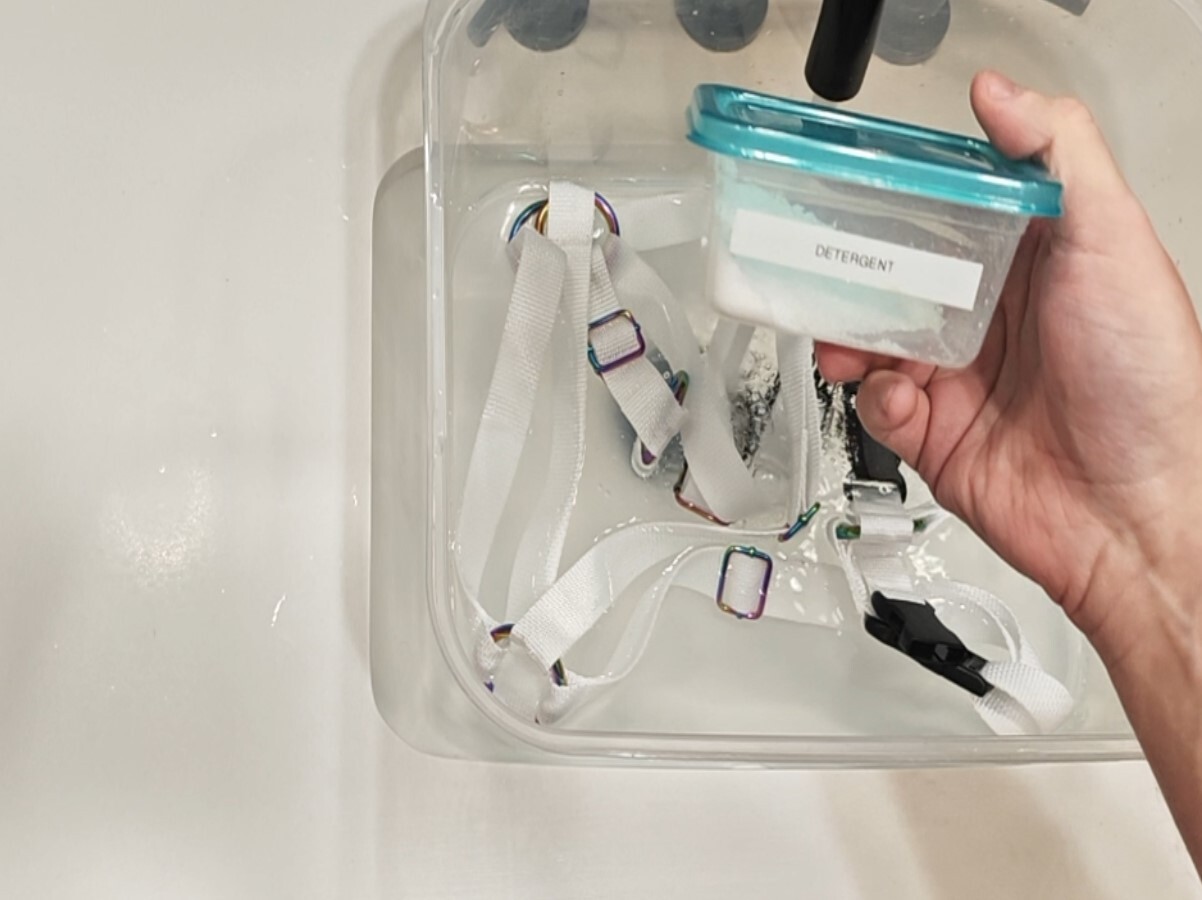
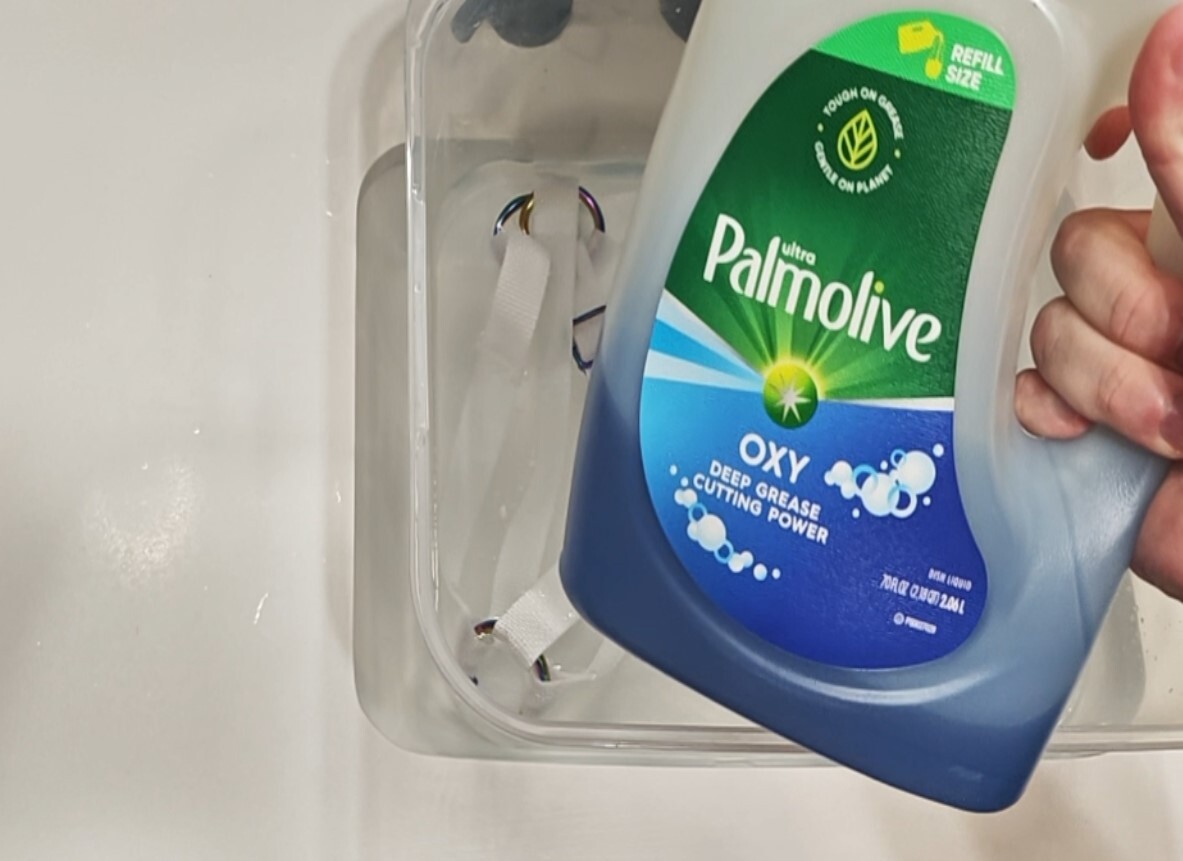
While your wash basin is filling with water, add a small amount of a neutral detergent. We recommend a free and clear one, but make VERY sure you are not using anything with bleach in it. Chlorine will wreck not only the webbing, but all of the metal hardware.
If you don’t have such a detergent, use few drops of dish soap instead.
Fill the basin up about an inch (or more if you want) over the top of whatever you’ve put in there. Basically, what your washing needs room to move while you’re agitating it.
Either while the basin is filling with water or once it’s done, use your hands to mix everything around, allowing the detergent/soap to coat everything. Go through each strap and with your fingers, rub the detergent/soap into the webbing, paying extra attention to clearly-dirty areas. While not shown, we recommend using a stiff brush (something between a firm-bristled toothbrush and a grout brush) and lightly brushing the dirty areas. You can use it on all of the webbing, but it’s not really necessary.
Let everything soak for 20-30 minutes. After that time, check the dirty spots on the webbing. If they're still there, dump the water and repeat the process, being slightly more aggressive with the brush, and let sit for an additional 15-20 minutes.
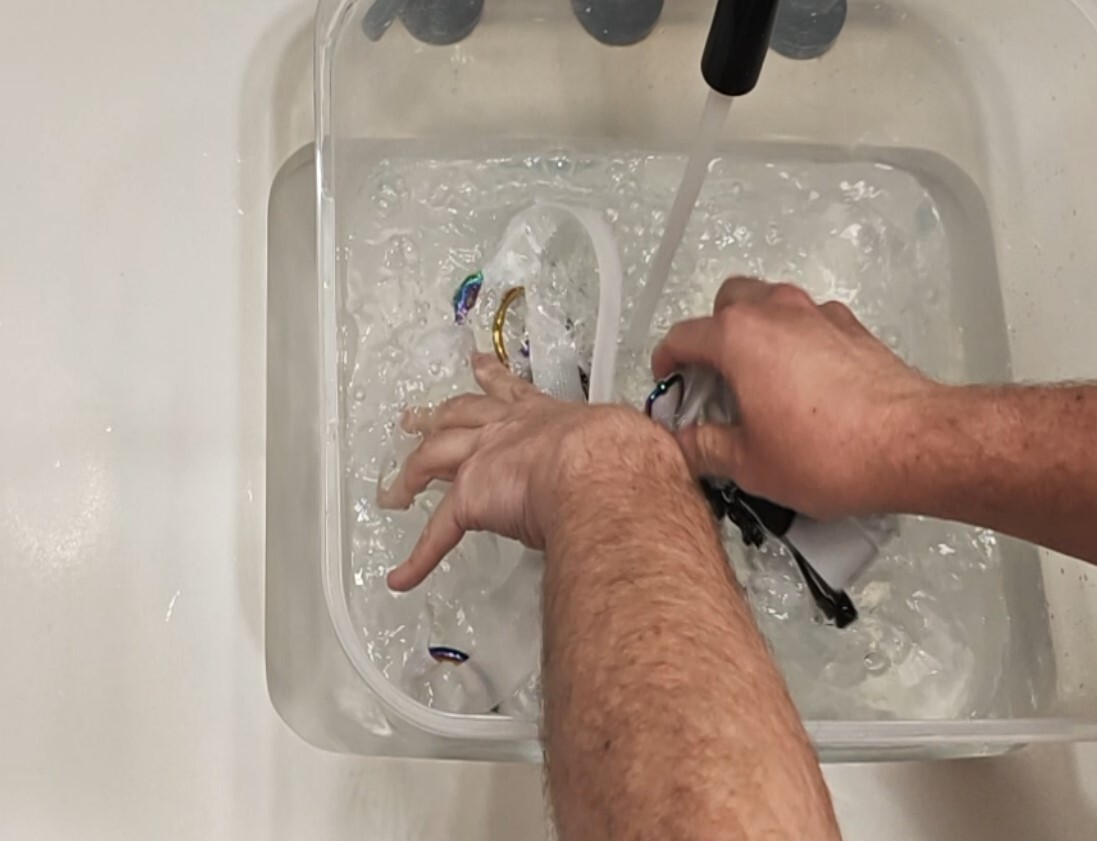
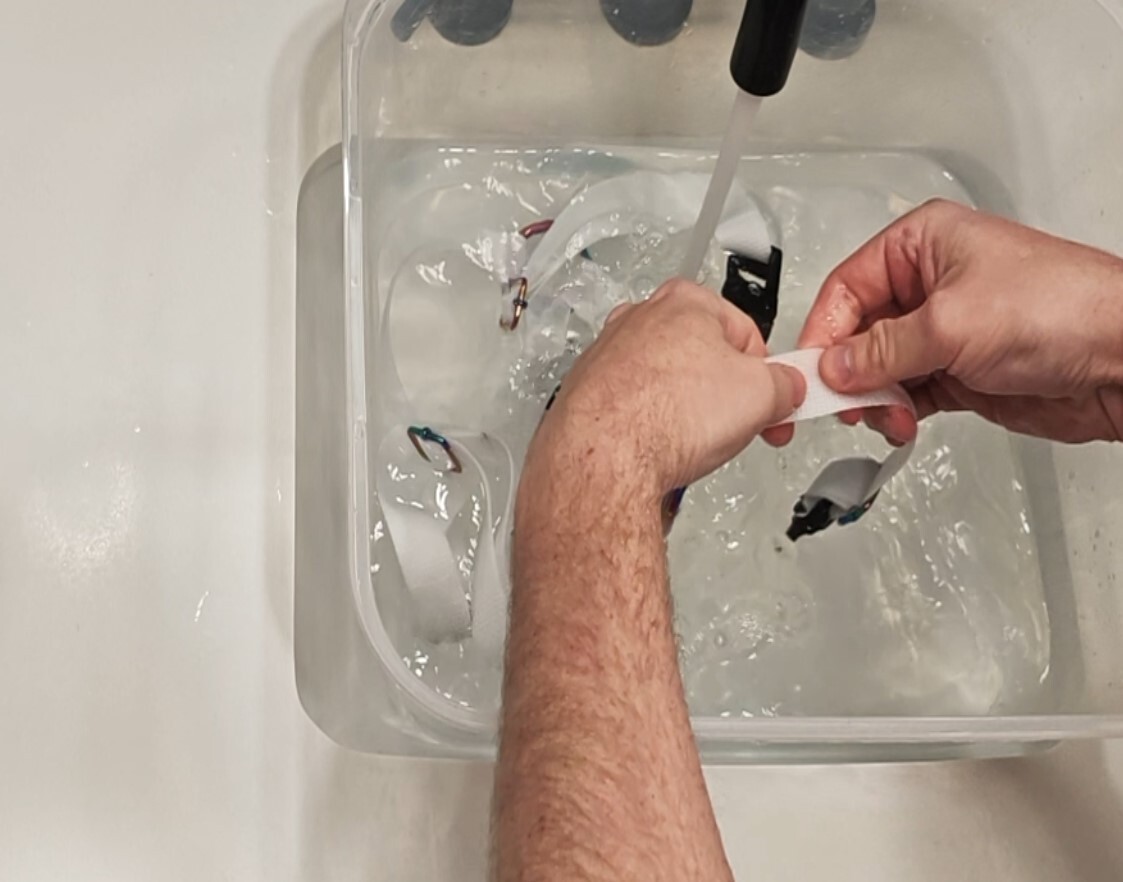
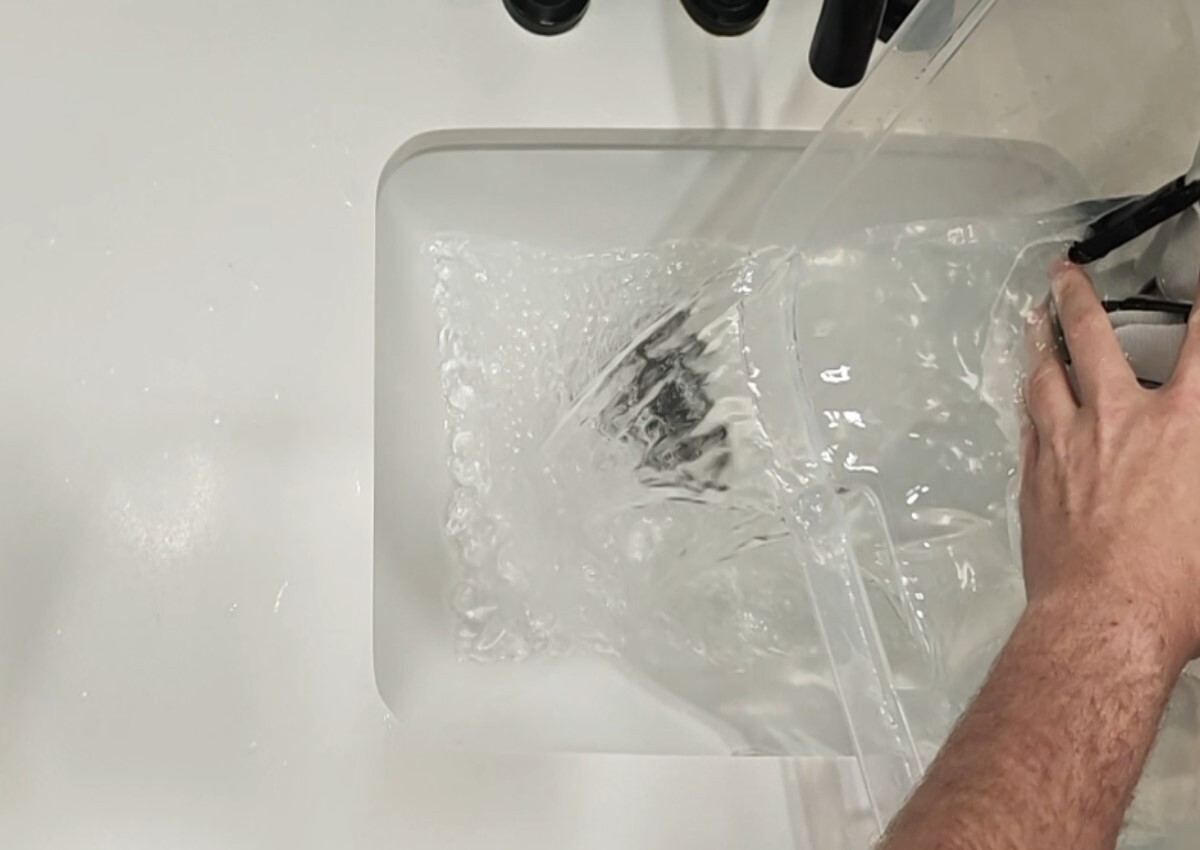
After everything has soaked, carefully dump out the water.
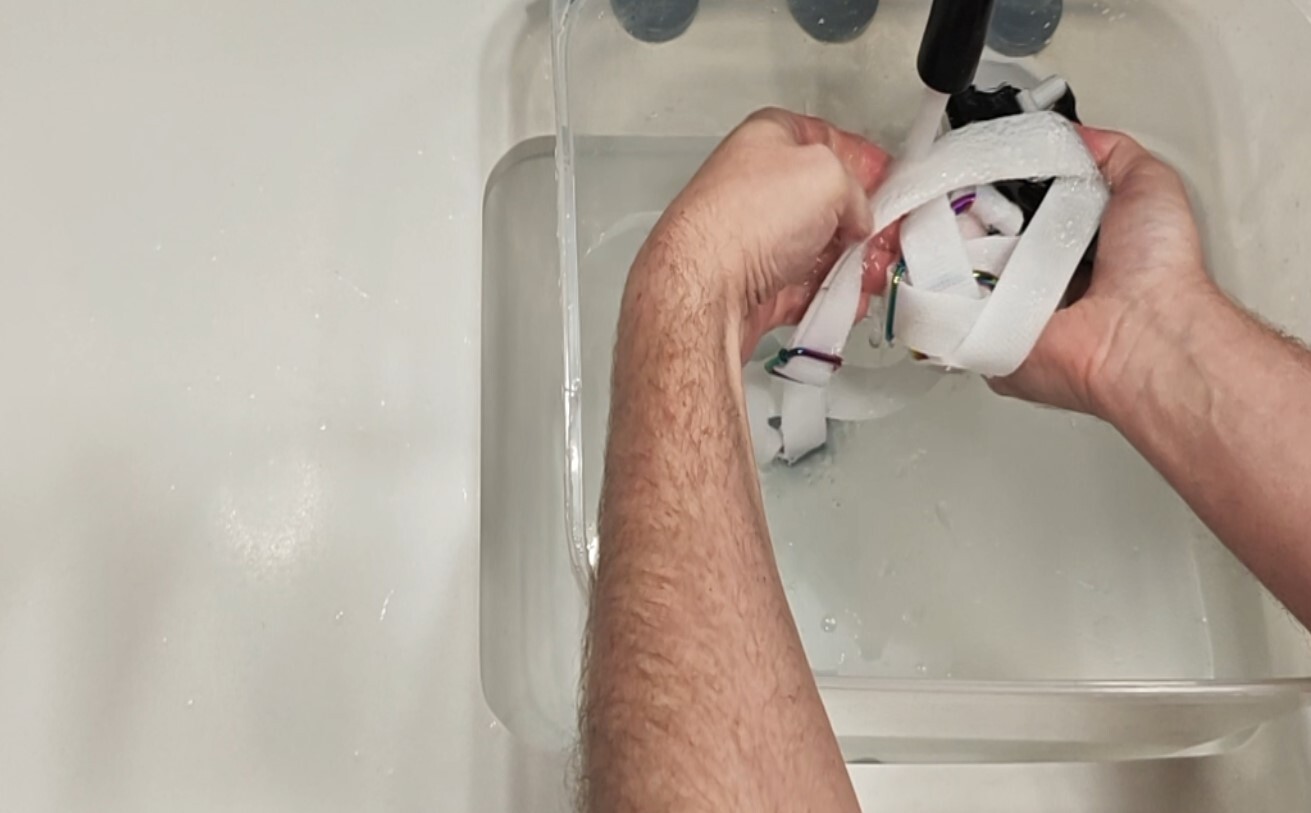
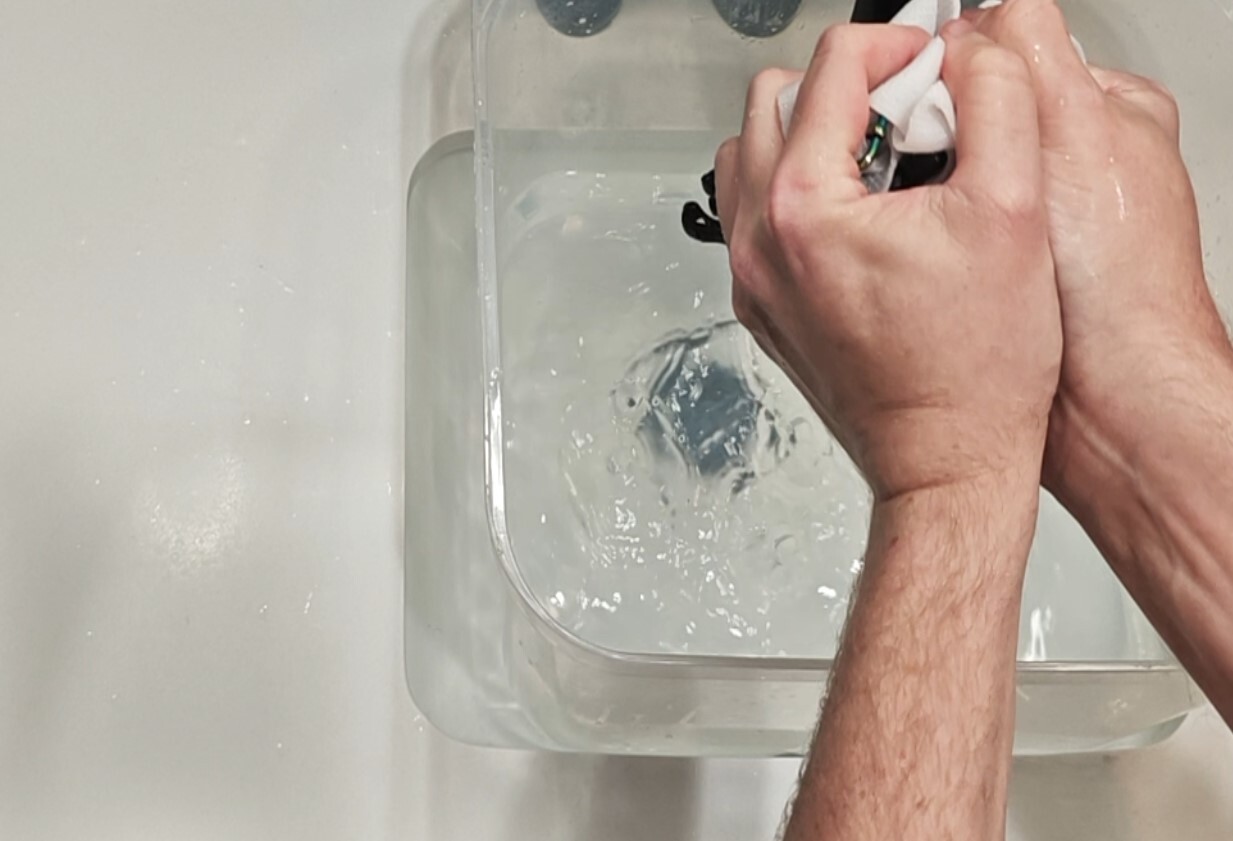
Begin to rinse the webbing. While there are several ways you can do this, making sure that you’ve rinsed the webbing thoroughly is the most important part. You don’t want to leave any detergent/soap on the webbing, as over time it’ll start to stiffen. The way we’ve shown here is to start refilling the basin with water, while at the same time lifting out small sections at a time and running them under the water, massaging with your fingers as you go. The webbing will feel noticeably different once it’s been fully rinsed.
You can also plan on showering once the webbing is ready to be rinsed, and just rinse it under the shower head while you’re in there.
Once the webbing has been thoroughly rinsed out, carefully squeeze out as much water as you can. You’ll want to be firm with your pressure, but don’t squeeze as hard as you can; it’ll just end up creasing the webbing, which we’ll show how to fix in the next section. It’ll still be dripping with water when you’re done, but the more you can get out, the less it will drip and the faster it will dry.
De-wrinkling and drying:
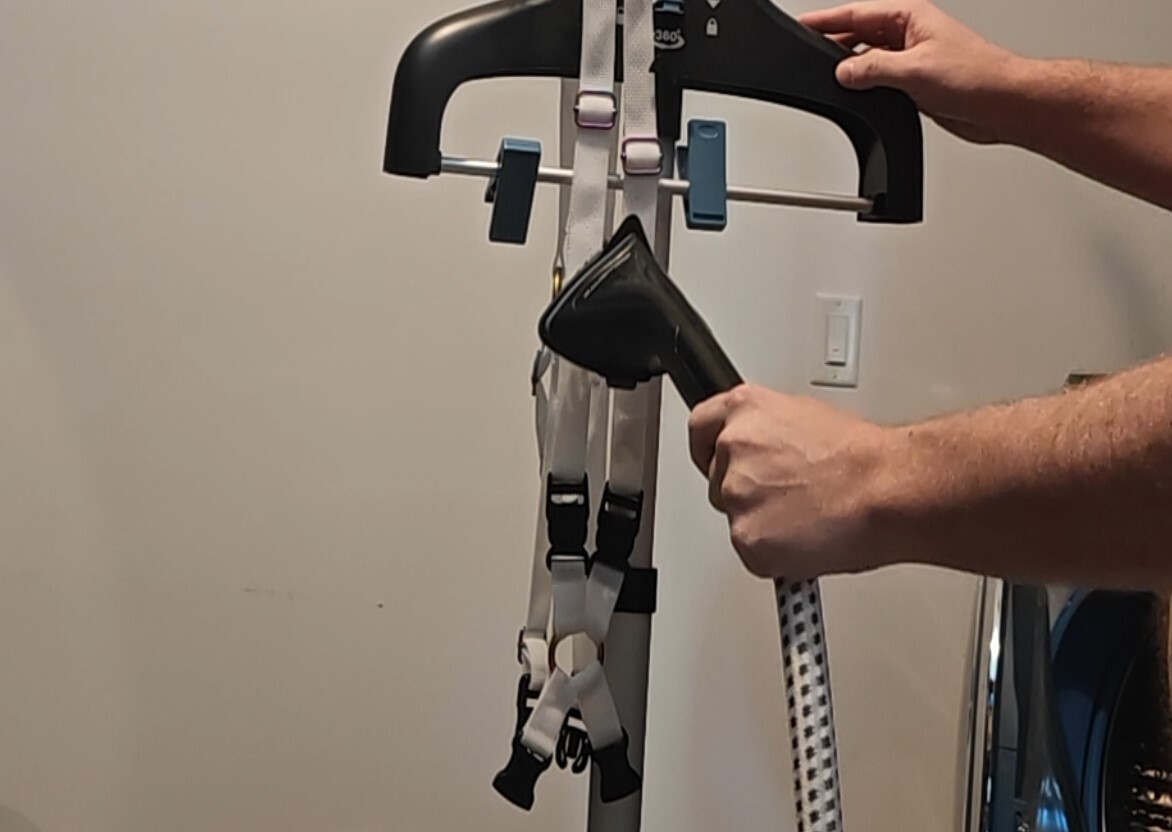
If the webbing is at all creased or wrinkled, you can use a steamer to easily get those out. We happen have a stand-steamer, but a basic handheld one works just fine. While this can be done while the webbing is wet or dry, if the webbing is already wet from being washed, we recommend you steam it then. The wrinkles come out easier when it’s already wet, and steaming will wet the webbing a bit anyway, so you don’t have to dry it a second time.
We strongly recommend you do not iron webbing. If you absolutely have to, use a medium heat setting and place a damp cloth on top of the webbing first, only ironing on top of the cloth. Webbing has a fairly low melting point, and the last thing you want to do is melt your new harness with an iron.
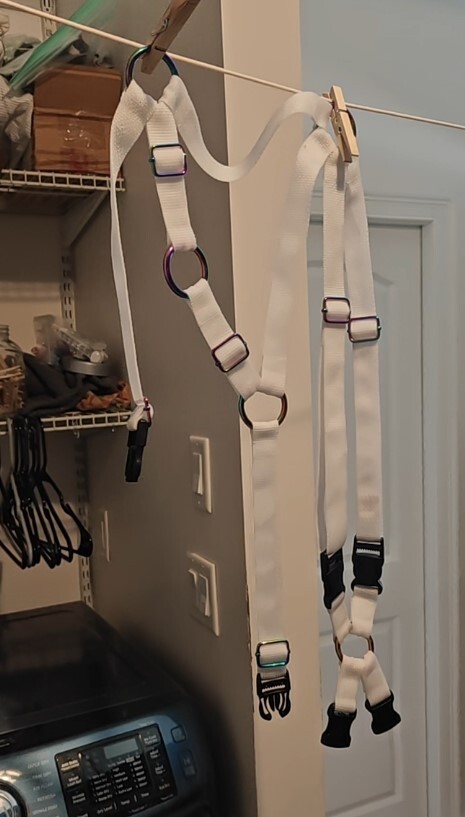
To dry, hang the product indoors on a line, drying rack, something in your shower, or whatever else works with your home setup. Unless it’s in a shower or somewhere that the floor can get wet, place a towel underneath it to catch the drops of water that will drip off of it. Do not hang it outdoors, as the direct sun exposure can start to fade your webbing. You’ll also want to avoid clipping clothespins directly onto the webbing; it’ll just crease it (or worse, fray it). Instead, hang the product from the hardware (as shown) or simply drape it over top of the line, if you’re confident it won’t fall.
If you have a fan that you can point at the product to help it dry faster, do that.
DO NOT put webbing into the dryer under any circumstances.
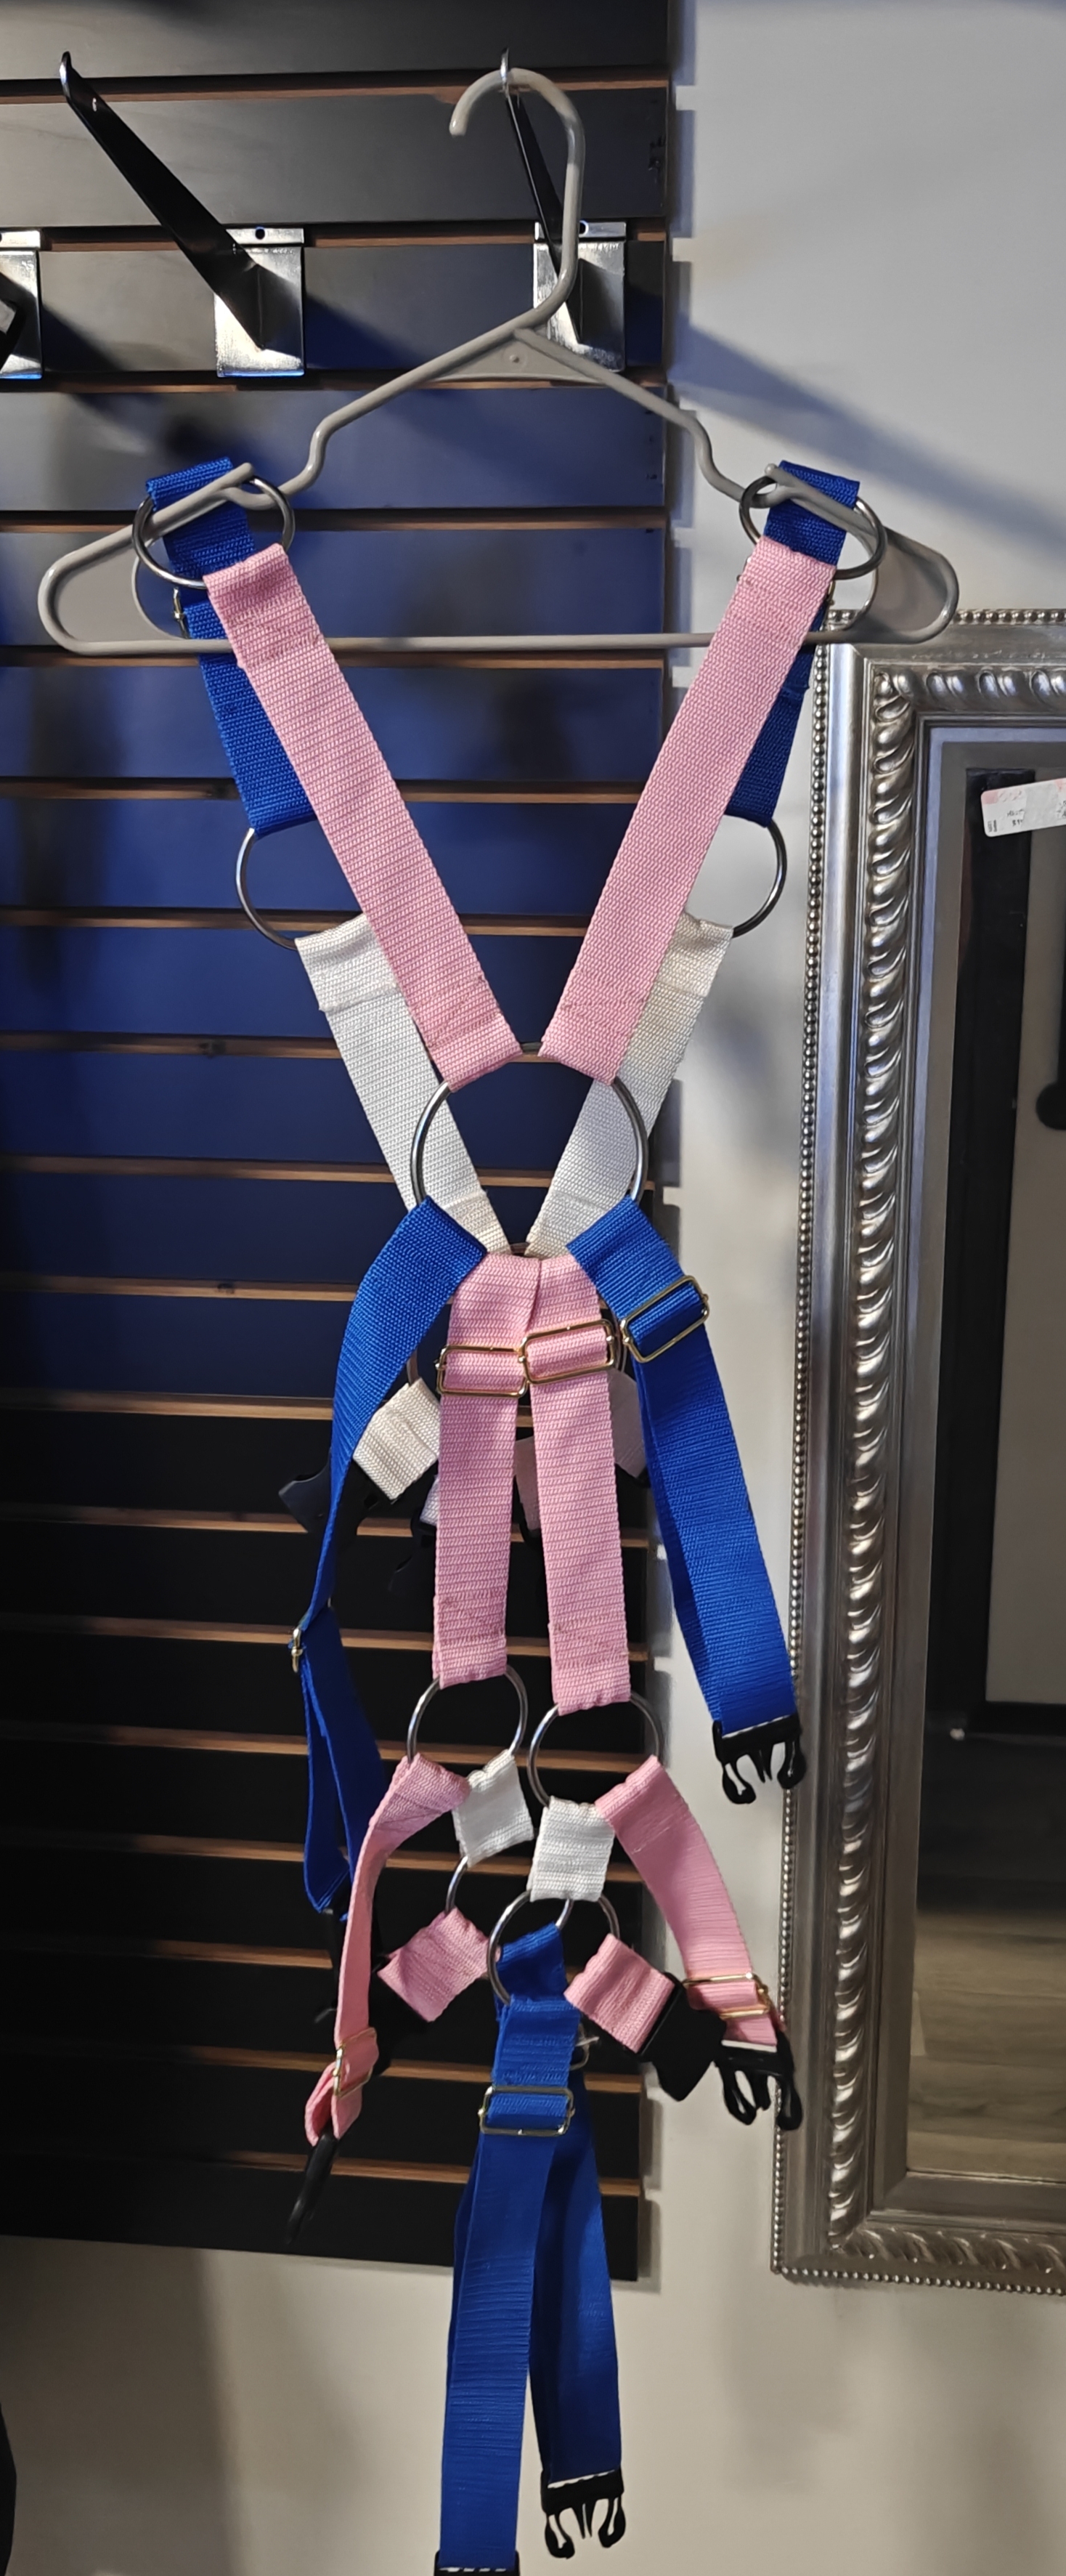
We recommend you hang your harnesses on a hanger, to keep them safe and clean. Basic hangers with the notches in the side, such as we're showing here, are perfectly fine.
Hang the harness somewhere around where your shoulders would normally sit. You can either hook an O-ring into it (shown here) or you can tuck the webbing into the grooves.